Understanding MiniDV Tapes and Their Importance
What are MiniDV Tapes?
MiniDV tapes were a popular format for recording video in the late 1990s and early 2000s. These compact cassettes, which are roughly the size of a pack of gum, were primarily used in consumer camcorders and were known for their ability to provide high-quality digital video. Each tape can hold about 60 to 90 minutes of video footage, recorded in digital format—a significant advantage over older analog methods. The MiniDV format utilized digital compression techniques, enabling filmmakers and amateur videographers alike to store their memories with clarity and detail.
Why Convert MiniDV to Digital?
As technology continues to advance, the need to preserve and access video footage has become increasingly important. Converting MiniDV tapes to digital formats provides numerous benefits:
- Accessibility: Digital files can be easily accessed, shared, and edited using modern devices.
- Preservation: MiniDV tapes are prone to deterioration and damage over time. Converting them to digital formats helps protect these invaluable memories against wear and tear.
- Enhanced Quality: Digital formats can enhance video quality, allowing for better playback on modern screens.
- Integration: Converted digital files can be incorporated into various platforms (e.g., social media, cloud storage) for sharing and safeguarding.
For more details about the process and advantages, check out this guide on Minidv to digital.
Common Challenges in Conversion
While converting MiniDV tapes to digital might seem straightforward, several challenges can arise during the process, including:
- Hardware Compatibility: Many modern computers lack FireWire (IEEE 1394) ports required for connecting MiniDV camcorders.
- Quality Loss: Poor conversion methods can lead to reduced video quality, jeopardizing the original footage’s integrity.
- Software Limitations: Not all video capture software is equally effective or easy to use, making the selection process crucial.
- Tape Degradation: As MiniDV tapes age, their magnetic tape can begin to degrade, potentially causing playback issues or data loss.
Preparing for the Conversion Process
Essential Tools for MiniDV to Digital Conversion
Before starting the conversion process, it’s important to gather the necessary tools and equipment. Here’s what you’ll need:
- MiniDV Camcorder: The original recording device is the best way to ensure quality playback.
- FireWire Cable: Essential for connecting your MiniDV camcorder to your computer, ensuring a stable data transfer.
- Video Capture Software: Programs such as Adobe Premiere, VLC, or specialized software for tape conversion are necessary for capturing footage.
- Computer: A reliable computer with adequate storage space and processing power will make the conversion process smoother.
- External Hard Drive: For backing up your digital files, an external hard drive is a prudent choice to ensure redundancy.
Setting Up Your Equipment
Once you’ve gathered your tools, the next step is setting up your equipment:
- Connect your MiniDV camcorder to your computer using the FireWire cable.
- Ensure that your camcorder is powered on and set to playback mode.
- Open your chosen video capture software and prepare it for video input, selecting the correct settings for MiniDV formats.
- Familiarize yourself with the software’s interface to ensure you can easily navigate its functions during the capture process.
Choosing the Right File Formats
When converting MiniDV tapes to digital, the file format you choose is critical. Here are some commonly used formats and their pros and cons:
- MP4: Highly compatible and efficient for sharing; however, it may not retain as much detail as larger formats.
- MOV: Ideal for high-quality video, especially on Apple devices, but larger in file size.
- Avi: Offers high quality; however, it is less compressed, resulting in larger file sizes and potential compatibility issues with certain devices.
Consider your end goal (editing, archiving, sharing) when selecting the format that best meets your needs.
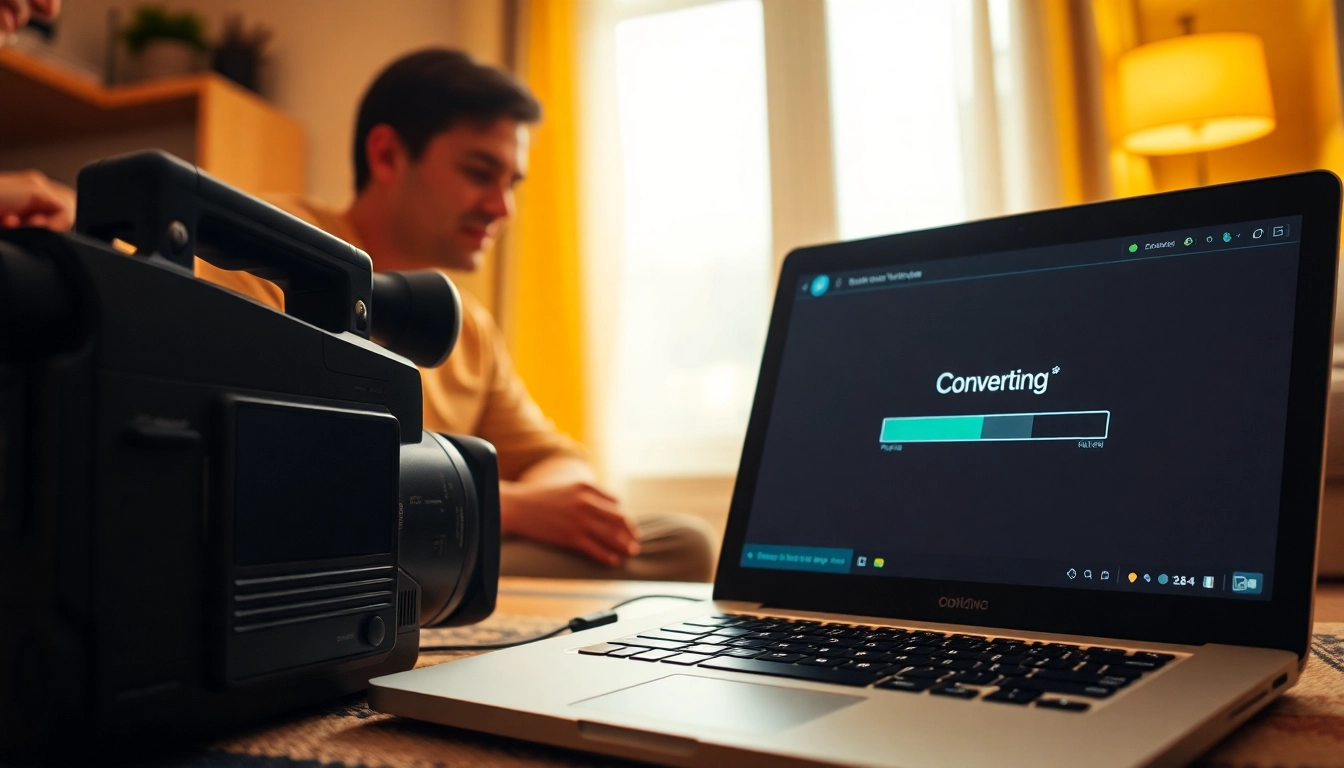
Step-by-Step Guide to Convert MiniDV to Digital
Connecting Your MiniDV Camcorder to a Computer
To initiate the conversion, establish a connection between your MiniDV camcorder and the computer:
- Power off your camcorder and ensure that all equipment is ready.
- Connect the FireWire cable to the camcorder’s FireWire port and the other end to the computer.
- Turn on the camcorder and set it to playback mode.
- Launch your video capture software, ensuring it recognizes the camcorder.
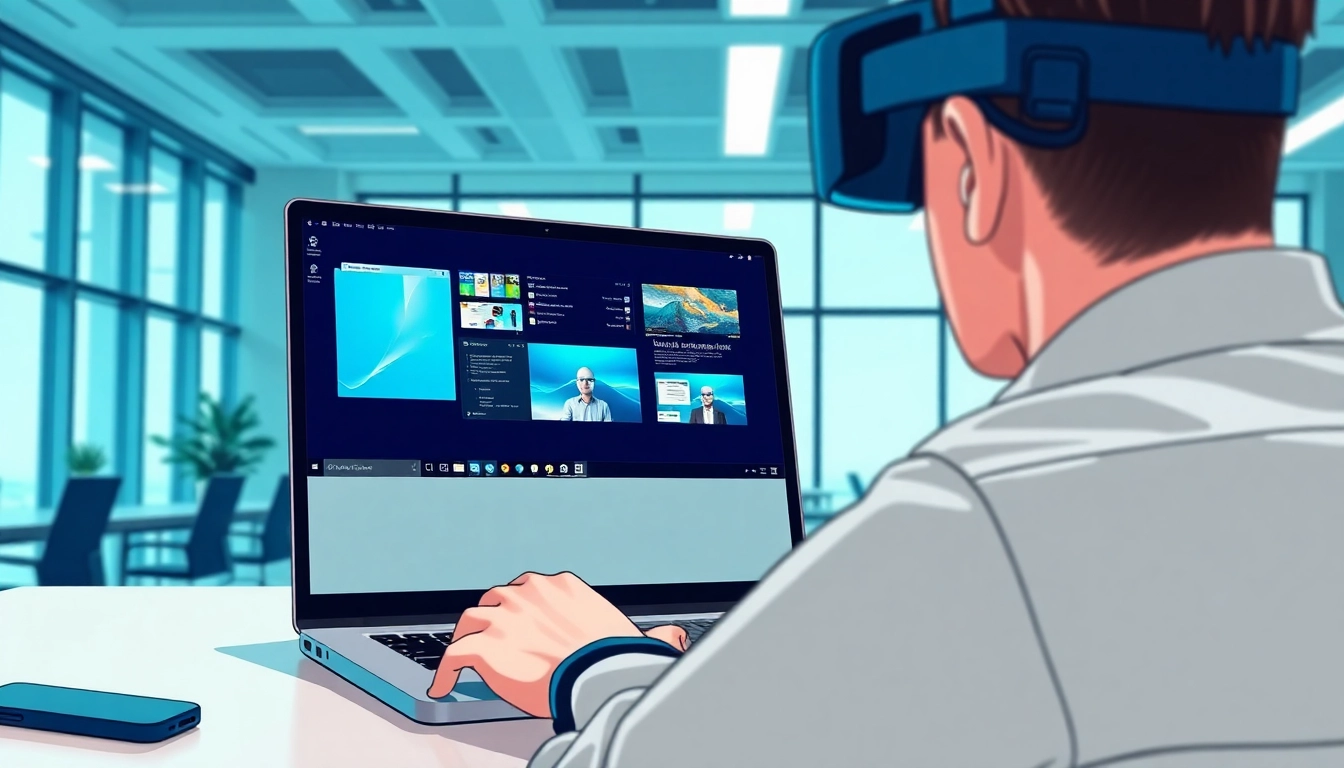
Using Conversion Software: Tips and Tricks
Here are some practical tips to make the most of your video capture software:
- Preview Before Capturing: Many software options allow you to preview the video before capturing it, ensuring you capture only the desired segments.
- Use High-Quality Settings: Adjust the settings to capture in the highest quality available; this will enhance your final digital files.
- Save Regularly: If your software supports it, save your work frequently to avoid any loss of data during the capturing process.
- Follow a Naming Convention: Creating a file naming system (date, event, etc.) can help you organize your digital files easily.
Quality Check: Ensuring Your Digital Files are Clear
After the conversion is complete, perform a quality check to ensure your digital files maintain clarity:
- Play the converted files on various devices to test compatibility.
- Check for any signs of video degradation, such as pixelation or audio issues.
- Consider running a checksum verification process if security and data integrity are paramount.
Preserving Your Digital Memories
Organizing Your Digital Files Effectively
Once your MiniDV tapes have been converted, organizing your digital files is essential for easy access and use:
- Create Folders: Set up a folder system that categorizes videos by event, date, or subject.
- Tagging: Use descriptive tags and metadata to enhance search capabilities within your files.
- Regular Updates: As new videos are added, regularly update your organizational structure to accommodate additional content.
Backup Options for Digital Files
Protecting your digital videos is crucial. Here are some effective backup strategies:
- Cloud Storage: Services like Google Drive, Dropbox, or dedicated video storage sites offer robust protection and easy access from multiple devices.
- External Hard Drives: Purchase a reliable external hard drive for additional physical backups, ensuring you have copies in case of computer failure.
- Multiple Locations: Store backups in different physical locations to avoid loss due to theft, fire, or natural disasters.
Sharing and Enjoying Your Converted Content
Converted digital content can be digitized, easily shared, and enjoyed in myriad ways:
- Social Media: Upload edited clips to social media platforms to share with friends and family.
- Create DVDs: If desired, create DVDs for family gatherings or special events to share in a classic format.
- Compile Highlight Reels: Use video editing software to compile highlight reels, creating memorable montages of cherished moments.
Advanced Techniques for MiniDV to Digital Conversion
Editing Your Converted Videos
Editing your converted videos can significantly enhance their quality and storytelling:
- Trim Unnecessary Content: Remove unwanted footage or blank sections at the start and end of the videos.
- Add Transitions and Effects: Utilize effects to add flair and polish to your videos, making them more engaging.
- Incorporate Music or Narration: Adding audio elements can help narrate or complement your visuals, capturing the essence of each moment.
Upgrading Old Formats: What You Should Know
As technology evolves, you may find yourself needing to upgrade older formats:
- Hybrid Formats: Investigate whether hybrid formats (such as 4K or HD) enhance the viewing experience while still retaining old footage.
- Streaming Services: Consider uploading special performances to streaming platforms that may provide wider access to family and friends.
- Archiving Standards: Familiarize yourself with contemporary archiving standards to ensure longevity and compatibility in future technologies.
Maintaining Digital Quality and Longevity
To ensure your digital files maintain their quality over time, follow these recommendations:
- Regularly Check Files: Periodically check your digital files for corruption or degradation.
- Use Quality Hardware: Invest in high-quality storage options that are designed for longevity and data integrity.
- Move Files to New Formats: As technology advances, consider migrating your files to newer formats to avoid obsolescence.


Leave a Reply