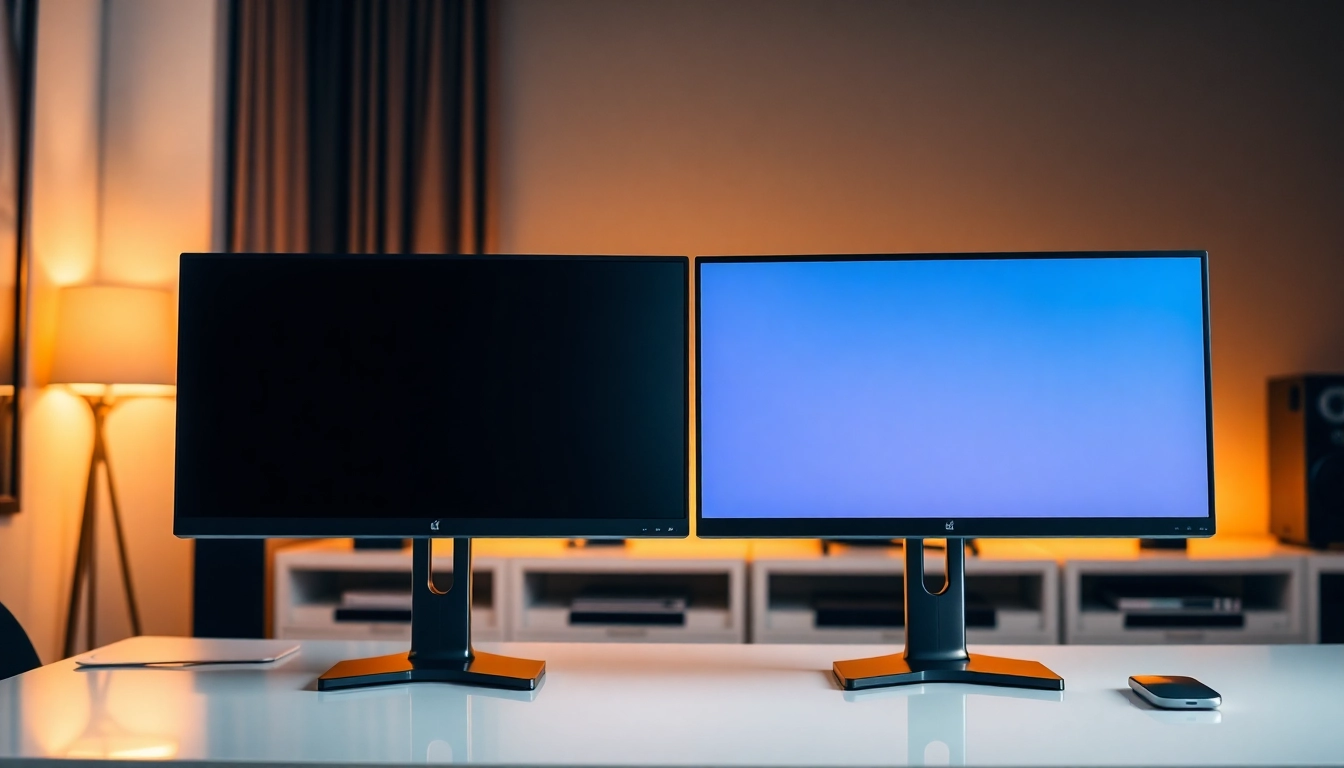
Understanding the Benefits of a Dual Monitor Install
In today’s fast-paced digital world, optimizing productivity has become paramount for many, especially in work-from-home or remote work settings. One effective way to enhance your efficiency is through a dual monitor install. This setup not only improves workflow but also dramatically increases productivity across various tasks. Here, we explore the myriad benefits associated with adopting a dual monitor configuration.
Increased Productivity in Workflows
Studies consistently show that having two monitors can boost productivity by up to 30%. When you can view more data simultaneously, the time spent switching between tabs and windows drastically reduces. This setup allows users to keep a document open on one screen while conducting research on another, significantly streamlining tasks that require reference materials or multi-tasking capabilities.
Enhanced Multi-Tasking Capabilities
Multi-tasking is a common necessity in both personal and professional environments. With two monitors, users can easily allocate specific applications or tasks to each screen. For instance, graphic designers can keep their design software on one screen while utilizing tutorials or reference images on the other. This segregation of tasks leads to improved focus and efficiency.
Improved Visual Experience for Designers
For professionals in creative fields such as graphic design, photography, and video editing, a dual monitor setup allows for a richer visual experience. Artists can benefit from having a larger workspace, enabling them to view their work in high resolution while accessing tools and layers without cluttering the main canvas. This expanded space fosters creativity and aids in producing high-quality outputs.
Essential Requirements for Dual Monitor Install
Before embarking on your dual monitor journey, it’s crucial to assess the necessary requirements to ensure a smooth setup process. Below are the key components you should consider.
Checking Computer Compatibility
The first step in installing a dual monitor setup is to verify your computer’s compatibility. Most modern computers support dual monitors, but it’s essential to check the available ports and the graphics card specifications. Some systems may require an upgrade to accommodate multiple monitors.
Gathering Necessary Cables and Equipment
To successfully connect two monitors, you’ll need appropriate cables corresponding to the ports available on both your monitors and the computer. Common types of cables include HDMI, DisplayPort, DVI, and VGA. Ensure that you have these cables on hand, and consider the length needed for your setup to avoid unnecessary strain or clutter.
Choosing the Right Monitors
Not all monitors are created equal, so selecting the right ones is critical. Ideally, choose monitors that have similar screen sizes and resolutions to maintain uniformity in your display. Additionally, considering adjustable monitors can enhance ergonomics and comfort during prolonged use.
Step-by-Step Process for Dual Monitor Install
Once you’ve established the requirements, the installation process becomes straightforward. Below is a detailed guide on how to set up your dual monitor system effectively.
Connecting Monitors to Your PC
Begin by turning off your computer. Connect your first monitor using the appropriate cable to your computer’s graphics card. Repeat this process for the second monitor. Ensure that both monitors are securely connected before powering them on.
Configuring Display Settings on Windows
After the monitors are powered on, navigate to your display settings. On Windows, you can do this by right-clicking on the desktop, selecting “Display settings”, and choosing how you want to extend or duplicate your displays. Opt for the “Extend” option to use both monitors as one large desktop or select “Duplicate” to mirror the contents of your primary screen.
Troubleshooting Common Setup Issues
Despite the straightforward process, you may encounter issues such as one monitor not displaying an image or an incorrect resolution. Start troubleshooting by checking cable connections, ensuring that the monitors are powered on, and verifying display settings. If issues persist, consider updating your graphics drivers or checking for compatibility issues with your operating system.
Optimizing Your Dual Monitor Setup
Now that your dual monitor installation is complete, the next focus should be on optimizing your setup for maximum productivity and comfort.
Arranging Monitors for Comfort and Efficiency
The positioning of your monitors can significantly impact comfort and efficiency. Ideally, the top of each monitor screen should be at or slightly below eye level. This ergonomically friendly arrangement reduces neck strain and encourages better posture. Additionally, keep the monitors at an arm’s length apart to minimize eye fatigue.
Using Software Tools for Better Display Management
Consider utilizing software tools designed for managing multiple displays. Programs such as DisplayFusion or UltraMon provide features like precise window management, shortcuts for moving windows between screens, and customizable wallpapers that enhance the multi-monitor experience.
Maintaining Your Dual Monitor System
Regular maintenance of your dual monitor system is crucial for longevity and performance. Dust and clean the monitors regularly, manage cable connections to avoid tangling, and periodically check for software updates to ensure your displays are functioning optimally. Maintaining a clutter-free workspace will also promote better focus and efficiency.
Comparing Dual Monitor Install Methods for Different Operating Systems
Different operating systems have varying methods for setting up dual monitors. Here’s how to optimize your installation process depending on your OS.
Setting Up Dual Monitors on Windows
Setting up dual monitors on Windows is relatively straightforward, with built-in settings that allow for easy configuration. Users can access “Display Settings” through the Control Panel or by right-clicking on the desktop, as previously mentioned. Windows also supports advanced setups, including different orientations for the monitors, depending on user preference.
Steps for a Dual Monitor Setup on MacOS
For Mac users, setting up dual monitors involves visiting System Preferences and selecting the “Displays” option. Here, you can adjust the arrangement of monitors, choosing which monitor acts as the primary display. MacOS also offers features like Mission Control, which enhances the usability of the multi-monitor setup.
Linux Systems: A Unique Approach
Linux users should note that setting up dual monitors may vary widely based on the distribution and desktop environment. Most Linux distributions have built-in display settings, but users might need to access terminal commands or specific configuration files for advanced setups. Tools like xrandr can be helpful here, allowing for detailed management of screen resolutions and orientations.
Conclusion
Implementing a dual monitor install is a strategic way to enhance productivity, improve workflow, and boost your overall digital experience. By understanding the benefits, fulfilling essential requirements, and executing a step-by-step installation process, you can reap the full benefits of a dual monitor setup. Optimize your arrangement, leverage software tools for display management, and explore specific methods based on your operating system to unlock your productivity potential.


Leave a Reply